

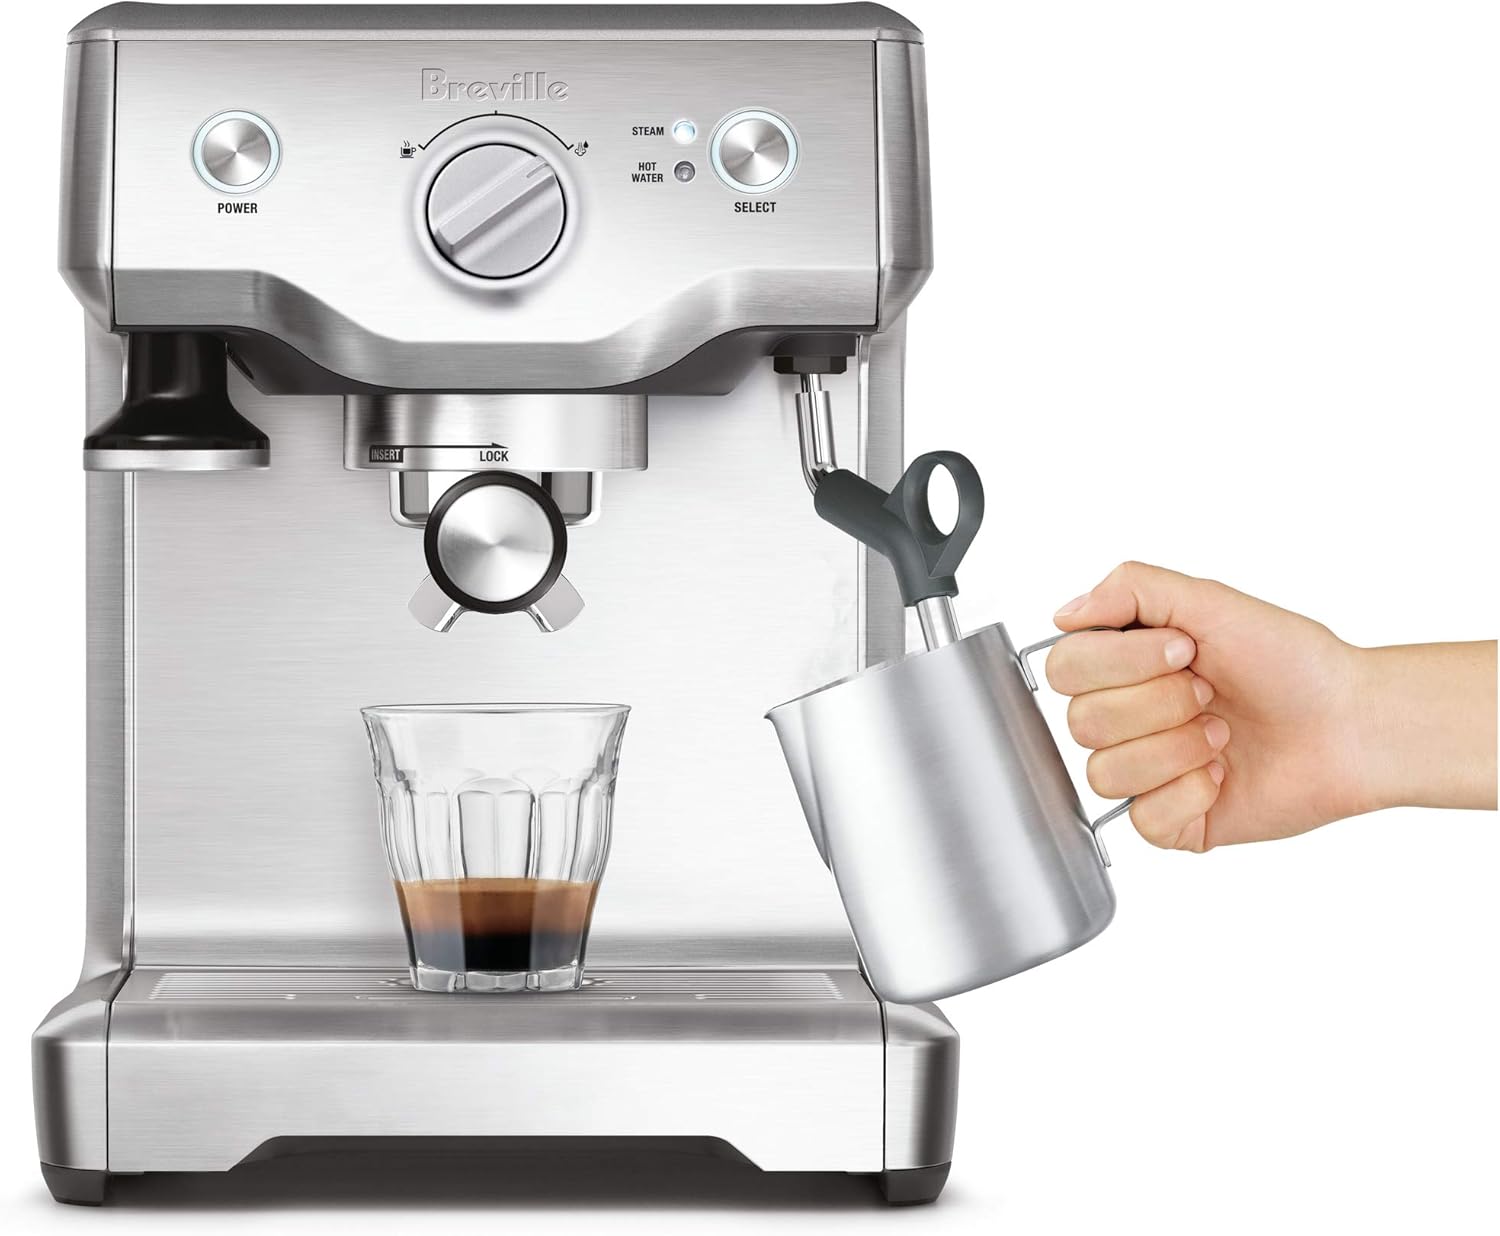
The latest Breville espresso machines comes with an instruction booklet on “How To Use,” so I won’t be covering them in this guide, but instead, I’ll cover how to clean and maintain it for optimum performance over time!
As most owners have experienced at one point in their lives – no matter how well we take care of our belongings, they will get dirty if used every day.
And cleaning things that are not designed to be taken apart and cleaned can cause more damage than good!
So I know we all want our beloved espresso machines to last as long as possible, especially if it is an expensive model – so please clean your Breville correctly before the parts break down from built-up residue!
Steps to clean your Breville Espresso Machine
How To Clean The Basket (Filter) and Housing Unit
First, you should remove the grinding unit away from the housing unit by carefully lifting each side. If you have never released it before, you may be surprised at how tight it fits into place – but trust me when I say – it takes a bit of a tug to dislodge it; use care when removing it!
Now you’ll want to spray some brush cleaner/degreaser into the filter basket holes, as well as on the outside of the housing unit. Then get a damp cloth and wipe it clean while holding it over the sink. If you need a deeper clean, use an additional spot cleaning cloth with your normal one.
Next, take out your bottle brush and scrape away at all of those nooks and crannies, along with any old coffee residue that may be sticking around. Trust me when I say – there will be a lot! Scrub this like you are attacking it with fire – because that’s how serious I am about this step!
Afterward, rinse out all traces of cleaning chemicals by spraying more degreaser in the area and letting it sit for 5-10 minutes. Then use a moist cloth to wipe away the degreaser residue.
Now you have a clean basket hole, but you also need to clean out your housing unit – which is where all of the water comes into contact with every time it passes through! So grab some baking soda and add a good heaping spoonful or so to your sink, then add enough vinegar to create a paste-like texture – not too runny, though!
Now grab an old toothbrush or bottle brush with bristles that will fit comfortably inside the unit – if it’s too small, you can cut the end off. And slowly clean it out from top to bottom. Be sure to wash away any leftover residue with hot water, and keep your bottle brush handy for a few more minutes!
Next, go ahead and grab those coffee filters (paper) to dry them out by patting away any excess water left inside the reservoir. You should also do this step before you reassemble anything, as too much moisture can cause mildew which I know none of us want to deal with later on down the road!
Now let’s move onto reassembly – but before we get started, you should clean out your grinder first, so the coffee doesn’t end up tasting like vinegar or baking soda – gross, I know! Grab another old toothbrush or bottle brush with bristles, whichever you prefer, and gently scrub the grinding chamber clean.
Also, be sure to rinse the vinegar and baking soda out of your housing unit before you reassemble it. Otherwise, everything will taste like that combo!
And last but not least, take off your coffee filters (paper) and gently wash them down with some hot soapy water – this step is essential – or else you will end up with dirty pieces coming out of your filter basket holes.Once everything has dried a bit, we can finally put this baby back together again!
NOTE: Vinegar is acidic, which means it’s dangerous for metals over time if left in contact for too long. So now would be a good time to order some replacement baskets/brew groups if you need them! Breville recommends ordering the brew group kit – which comes with two brew group baskets and a new gasket so that you can replace them both simultaneously!
How To Clean The Drip Tray
Now that all of your hard work is finally done – let’s move onto something fun to end this section with – cleaning up after yourself! But first things first, grab some more brush cleaner or degreaser, depending on what kind of buildup is present.
Add some hot water into the drip tray, then give it a good shake for 10 seconds or so until any excess water has drained out before moving onto the next step. Make sure to spray a spotted cloth down now as well to wipe away any built-up residue. Afterward, use your standard drying cloth and pat dry the surface of the tray.
WARNING: Never use strong chemicals to clean your drip tray. This will not only remove any built-up residue; it could potentially leave behind a toxic substance that you will then place coffee grounds on top of.
And no one wants that! So be careful when handling this step – or skip it entirely by purchasing a replacement tray if need be! Breville recommends ordering the brew group kit – which comes with two brew group baskets and a new gasket so that you can replace them both simultaneously!
How To Clean The Coffee Filter Basket (Stainless):
Just grab some hot soapy water and give this bad boy a good bath, rinsing off any leftover debris in between washes. If you have a replacement filter basket available, now would be the best time to swap them out!
How To Clean The Coffee Filter Basket (Plastic):
First, grab your brush cleaner or baking soda – whichever you prefer – and add it to a bowl with some hot water, then soak the basket for about 30 minutes, making sure to rinse away any excess buildup in between. Eventually, I will probably replace this basket just like my brew group baskets, but since one is still working fine, I’ll hold off on doing so right now!
And that’s all, folks! Pretty easy. Just follow these above steps, and you should avoid any unnecessary headaches later down the road! And if you run into any issues – don’t hesitate to shoot me a message, and I will do my best to help you out promptly!
Comments are closed.